 Mayday Flowers
Seeds and Propagation
Making new plants is one of the quiet pleasures of gardening, and one of the most economical. A packet of seed can fill a border, a single clump of asters can become five, and a handful of stems pushed into the ground in November can be a hedge in three years. Here is how to do it, from seed packet to rooted cutting, through a year with cold winters and late spring frosts.
Buying and storing seed
Read the packet before you buy. Two words matter most. F1 hybrid means the seed comes from a controlled cross between two parent lines; the plants are uniform and vigorous, but their own seed will not come true. Open-pollinated means the variety breeds true if kept away from relatives, so you can save your own seed next year.
Look for the sowing date or the "packed for" season. Old seed germinates less reliably, and some kinds lose viability fast. Buy only what you will sow within a year or two.
Storing seed
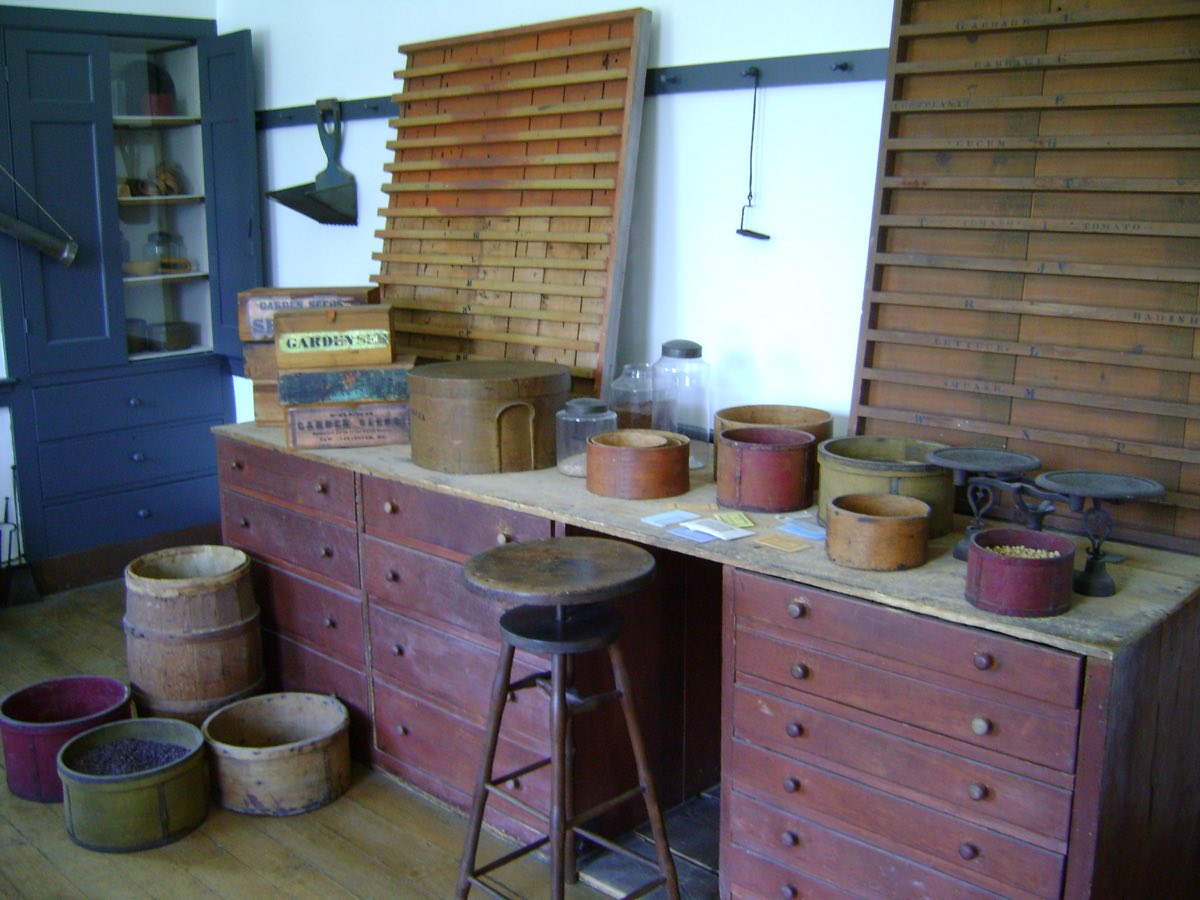
Seed is alive, but dormant. Its enemies are warmth, moisture and light, which wake it up or let it slowly die. Store packets in an airtight tin or glass jar in a cool, dark place: a cupboard in an unheated room, or the fridge. A sachet of silica gel or a spoonful of dry rice wrapped in tissue in the jar absorbs moisture. Never store seed in a greenhouse or shed, where summer heat cooks it.
How long seed keeps
Stored well, most flower seed stays viable for two to four years. Some kinds are short-lived and best sown fresh: parsnip, onion and chives among vegetables; delphinium, primula and hellebore among flowers, which germinate far better from seed sown as soon as it is ripe. Others last much longer: sweet peas, nasturtiums, tomatoes and many brassicas can germinate after five years or more. To test old seed, fold ten seeds in damp kitchen paper inside a plastic bag, keep it warm and count how many sprout after a week or two. Seven out of ten means 70 percent germination: sow a little more thickly.
Germination basics
A seed needs three things to germinate: moisture, warmth and air. Some also need light, and a few need a period of cold first. Get these right and germination is almost automatic.
Moisture
The seed must absorb water to swell and split its coat. The sowing mix should be evenly moist, like a wrung-out sponge, never waterlogged. Soggy compost drives out air and the seed rots. Water trays from below, by standing them in a shallow tray of water for twenty minutes, so the surface is not washed away.
Warmth
Most half-hardy annuals germinate best at 18 to 21 °C: zinnias, cosmos, tomatoes and dahlias from seed. Hardy annuals and many perennials germinate at lower temperatures, 10 to 15 °C, and some, including sweet peas, dislike too much heat. A warm windowsill above a radiator works, but beware of the cold window glass at night.
Light or darkness
The packet usually says. Very fine seeds generally need light and should be pressed onto the surface and left uncovered: snapdragons, nicotiana, petunias, begonias, foxgloves, lobelia and lettuce. Others germinate better in darkness and should be covered: calendula, nigella, larkspur and cornflowers. As a rule of thumb, cover seed to about twice its own thickness.
Cold
Many perennials and hardy natives evolved to germinate in spring after a winter outdoors. Their seeds will not wake until they have been chilled. This is called stratification. Sow them in pots in autumn or early winter and leave the pots outside, covered with a layer of grit, to experience frost. Examples include hellebores, primulas, many wild flowers, astrantia and gentians. Alternatively, mix the seed with damp sand in a bag and keep it in the fridge for four to six weeks before sowing.
Sowing indoors
Sowing under cover gives tender plants a head start and protects slow, small seedlings from slugs and weather. In a garden where frost lasts into late April, it is the only way to get zinnias, cosmos and snapdragons flowering before August.
Containers
- Seed trays for large numbers of small seeds that will be pricked out later.
- Module trays, divided into cells, for sowing one to three seeds per cell. Seedlings grow on without disturbance, which suits plants that resent root disturbance.
- Deep pots or root trainers for sweet peas, which make long roots quickly.
Whatever you use, it must be clean. Scrub reused trays and pots in hot soapy water before sowing; old compost residue can carry the fungi that cause damping off.
Sowing mix
Use a fine, fresh, peat-free seed compost, or sieve multipurpose compost to remove lumps. Seed compost contains few nutrients, which is right: seedlings need very little at first, and too much fertiliser can scorch tender roots. Do not use garden soil, which is full of weed seeds and disease organisms and sets hard in a tray.
Step by step
- Fill the tray to just below the rim and tap it on the bench to settle the compost. Level it and firm lightly with the base of another tray.
- Water the compost before sowing, from below.
- Sow thinly. For fine seed, mix it with a pinch of dry sand to see where it falls. Space larger seeds individually.
- Cover to the right depth with sieved compost or fine vermiculite, which keeps moisture in but lets light through.
- Label with the name and date. You will not remember in three weeks.
- Cover with a clear lid or a plastic bag to hold humidity, and place in warmth.
- Check every day. As soon as the first seedlings appear, remove the cover and move the tray to the brightest place you have.
Pricking out
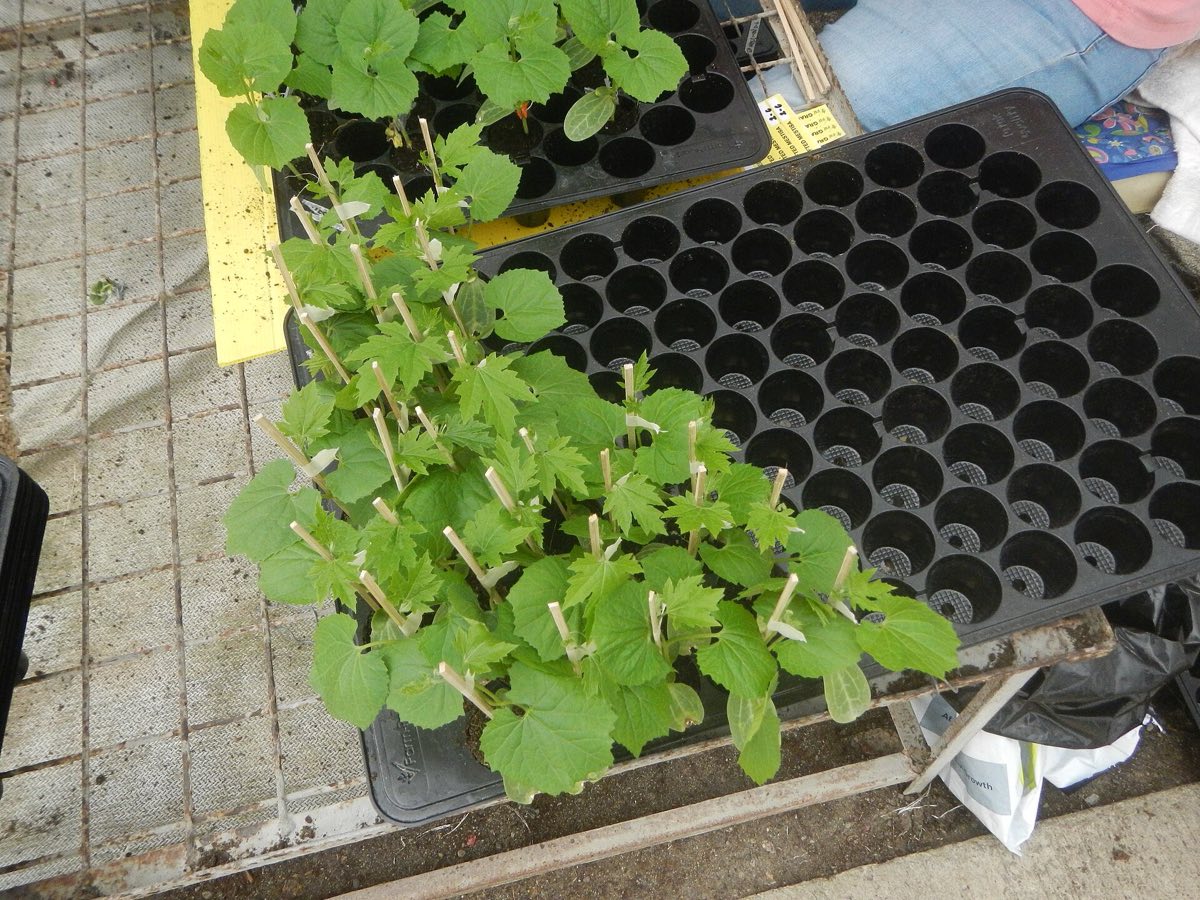
Seedlings sown in a tray must be separated and moved into their own cells or pots before they crowd each other. This is pricking out. Do it as soon as the seedlings can be handled, usually when the first true leaves appear above the seed leaves.
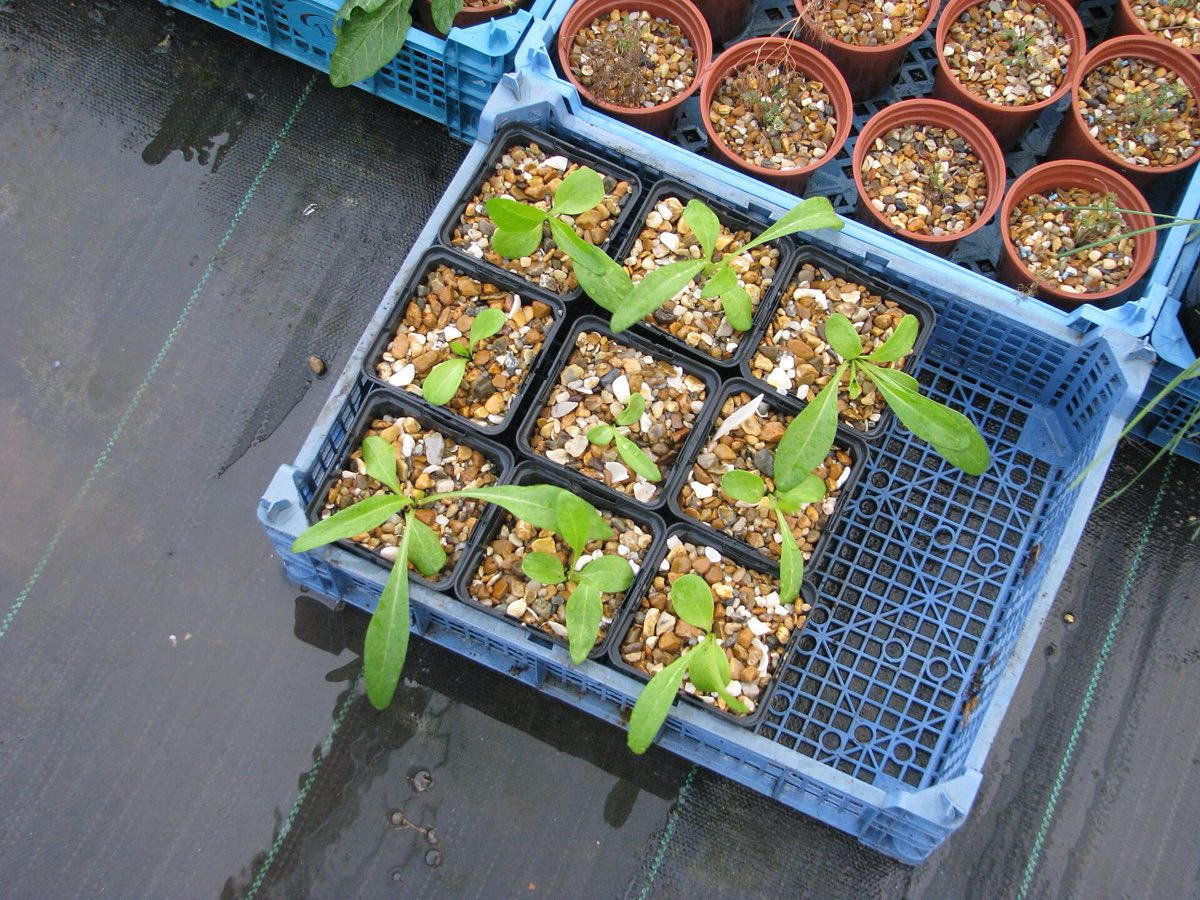
The first pair of leaves a seedling produces are seed leaves, or cotyledons. They are usually simple and rounded and look the same on very different plants. The next leaves are the true leaves, shaped like the adult plant's.
- Water the tray an hour before so the roots hold together.
- Fill modules or small pots with multipurpose compost and make a hole in each with a pencil or dibber.
- Loosen a clump of seedlings from below with the dibber.
- Hold each seedling by a seed leaf, never by the stem. A bruised leaf is replaced; a crushed stem kills the seedling.
- Lower it into the hole, slightly deeper than it was, so the seed leaves sit just above the surface. This helps leggy seedlings.
- Firm gently around it and water from below.
Hardening off
Plants raised indoors are soft. Their leaves have never felt wind, strong sun or cold nights. Planted straight out, they often scorch, wilt or stop growing for weeks. Hardening off is the gradual process of getting them used to outdoor conditions, and it takes one to two weeks.
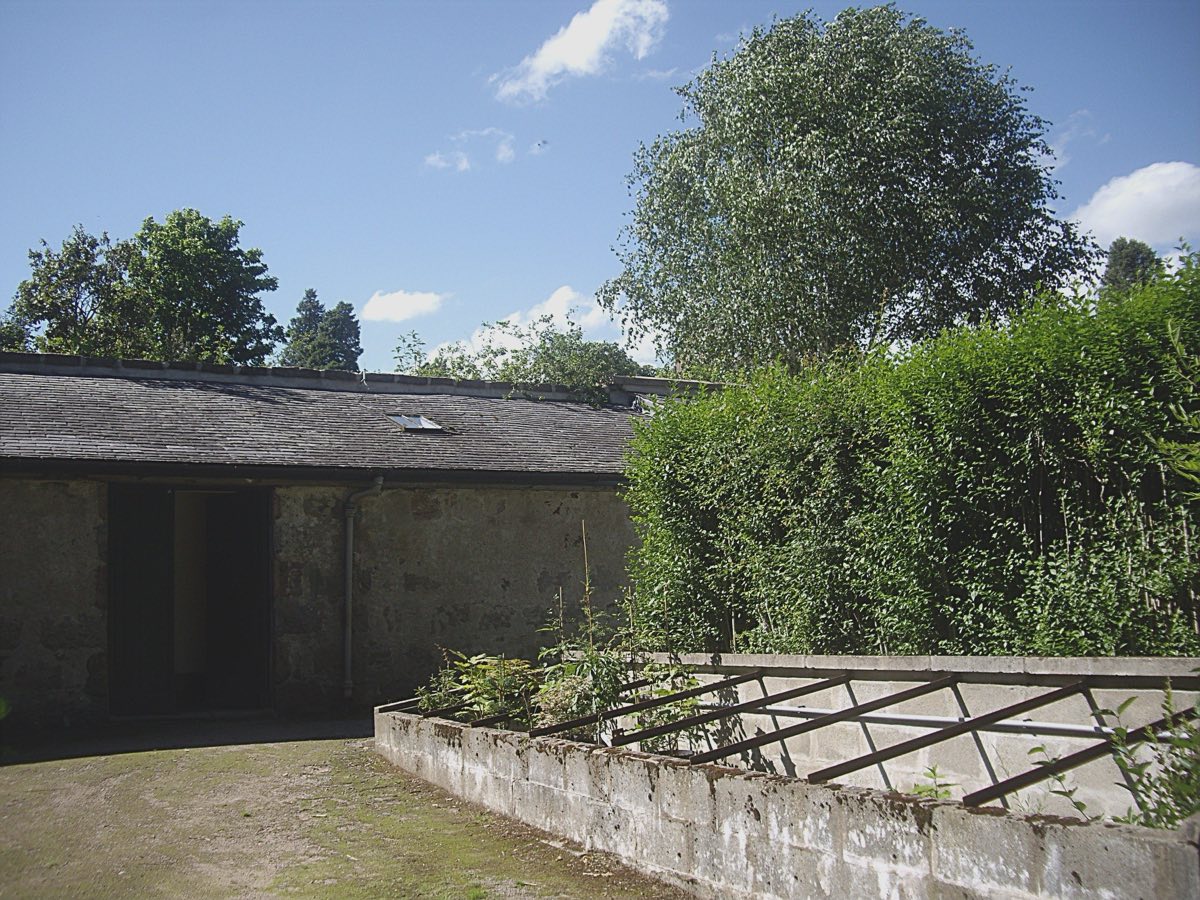
- Days 1 to 3: put plants outside in a sheltered, lightly shaded spot for a few hours in the middle of the day. Bring them in at night.
- Days 4 to 7: leave them out all day, in more sun. Still bring them in at night.
- Days 8 to 14: leave them out day and night unless frost is forecast.
A cold frame makes this much easier. Open the lid during the day, close it at night, and gradually leave it open for longer.
Hardy annuals sown in March can be hardened off from mid April. Tender plants like zinnias, cosmos, dahlias and tomatoes must not go out for good until all risk of frost is past, which in a garden with frosts into late April usually means the second half of May. Watch the forecast: a late frost in mid May is not unusual, and a single night below freezing kills tender seedlings outright.
Sowing outdoors
Many flowers grow better sown where they are to flower. Plants that resent root disturbance, such as poppies, nigella, larkspur, cornflowers and annual umbellifers like ammi, often do best this way. Direct sowing is also faster: no trays, no pricking out, no hardening off.
Preparing the seed bed
The soil should be weed-free, raked to a fine crumbly surface with no lumps bigger than a pea, and moist. Wait until the soil has warmed: if it feels cold to the back of your hand, or weed seedlings are not yet appearing, it is too early. In most years that is April for hardy annuals and late May for tender ones.
Drills and broadcasting
For a cutting garden or vegetable plot, sow in straight drills: shallow furrows made with the corner of a hoe or a cane pressed into the soil, typically 1 to 2 cm deep. Water the drill before sowing, not after, so the seed is not washed away. Sow thinly, cover and firm gently with the back of a rake.
For an informal border, broadcast seed in irregular patches. Mark each patch with sand, then sow in drills inside it running in different directions. When the seedlings appear, you can tell the flowers (in lines) from the weeds (everywhere else).
Thinning
Seedlings will need thinning to their final spacing, usually in two stages: first to half the final distance, then, a few weeks later, to the full spacing. Overcrowded plants are weak, flower poorly and attract mildew.
Saving seed
Saving seed from your own plants is satisfying and free. Whether the seedlings will look like their parent depends on how the plant was bred and how it was pollinated.
Plants that usually come true
- Species plants (not named cultivars), such as foxgloves, aquilegia, hollyhocks and many wild flowers.
- Open-pollinated annuals: sweet peas, nigella, calendula, cornflowers, poppies, cosmos, sunflowers and nasturtiums.
- Self-pollinating vegetables like tomatoes, beans, peas and lettuce.
Even true-breeding plants can cross with relatives nearby. Aquilegias are notorious: grow several colours together and the seedlings come up in every shade between. That can be a pleasure, or a disappointment, depending on what you wanted.
Plants that do not come true
F1 hybrids, most named perennials, roses, dahlias, fruit trees and many modern bedding plants. Their seed produces a mixture of plants, often inferior to the parent. These are propagated by division or cuttings instead.
How to collect
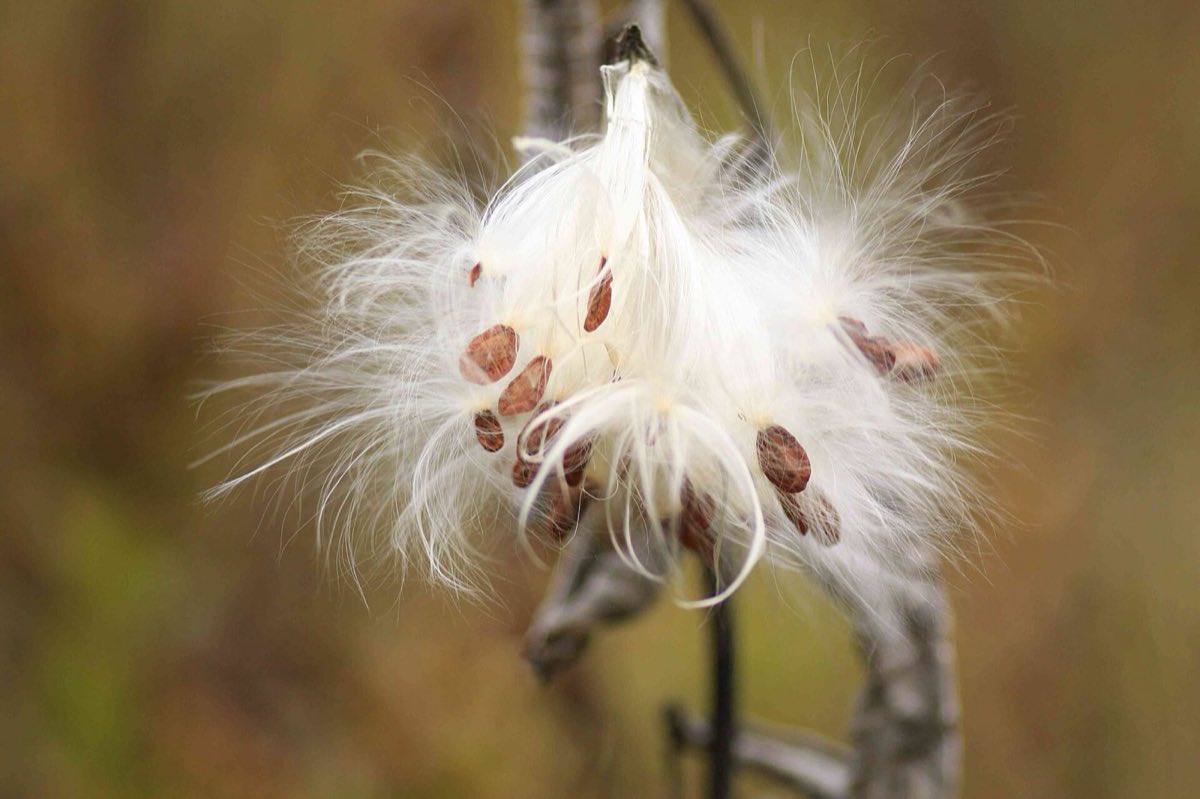
Choose the healthiest, most typical plants and let a few flowers ripen fully. Seed is usually ready when the pods or heads turn brown and dry and the seeds inside are hard and dark. Collect on a dry day. Cut whole heads into a paper bag, label it, and leave it somewhere warm and airy for a week or two to finish drying.
Shake or rub the seed out, separate it from the chaff by gently blowing or sieving, and store in labelled paper envelopes inside an airtight tin. Never use plastic bags for seed that is not completely dry; it will go mouldy.
Division
Most clump-forming perennials can be divided. It is the easiest way to make more plants, and it also rejuvenates old clumps that have become congested and bare in the middle. Most perennials benefit from being divided every three to five years.
When
Divide in early spring, as growth starts, or in early autumn while the soil is still warm. In a garden with cold, wet winters, spring is safer for anything slightly tender or prone to rot, and for late-flowering perennials such as asters and grasses. Bearded irises are divided after flowering, from July to August. Peonies, if they must be divided, are moved in September with three to five buds per piece; they resent it and may not flower for a year or two.
How
- Water the plant the day before.
- Lift the whole clump with a fork, working around it in a wide circle.
- Shake or wash off loose soil so you can see the crowns and roots.
- Small, fibrous clumps (hardy geraniums, asters) can be pulled apart by hand. Tough clumps (hostas, daylilies, grasses) need two forks pushed back to back into the middle and levered apart, or a sharp spade.
- Discard the old, woody centre. Replant the young, vigorous outer pieces, each with several shoots and a good root system.
- Replant at the same depth, firm well and water thoroughly.
Stem cuttings
A stem cutting is a piece of shoot encouraged to grow roots. It produces an exact copy of the parent, so it is the way to multiply named varieties. Cuttings are grouped by how mature the wood is when you take them.
| Type | When | Material | Length | Good for | Roots in |
|---|---|---|---|---|---|
| Softwood | April to June | Soft new shoot tips, non-flowering | 5 to 10 cm | Fuchsia, pelargonium, salvia, chrysanthemum, hydrangea, dahlia basal shoots | 2 to 4 weeks |
| Semi-ripe | July to September | Current year's growth, firm at the base, soft at the tip | 10 to 15 cm | Lavender, rosemary, penstemon, hebe, box, ceanothus, cistus | 6 to 10 weeks |
| Hardwood | Late October to February, after leaf fall | Fully ripe, leafless stems of the current year | 20 to 30 cm | Dogwood, willow, roses, forsythia, currants, mock orange, buddleja | By next autumn |
Softwood cuttings
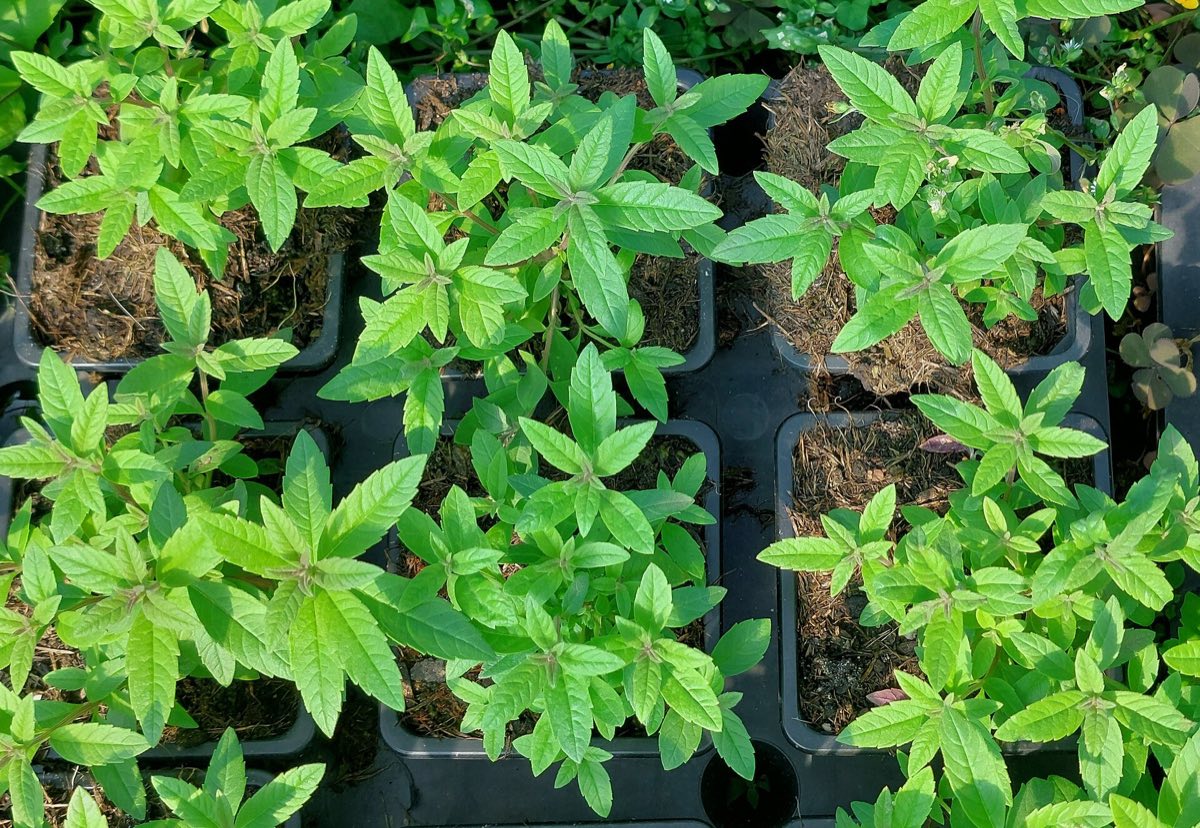
Take them early in the morning, when shoots are full of water, and put them straight into a plastic bag. Trim each cutting just below a leaf joint, where rooting hormones naturally concentrate. Remove the lower leaves and any flower buds. Push several cuttings around the edge of a pot of gritty compost (half multipurpose, half perlite or grit), water, and cover with a clear bag or put in a propagator. Keep out of direct sun. Softwood cuttings wilt fast and must be kept humid. When new growth appears and roots show at the drainage holes, pot them on individually.
Semi-ripe cuttings
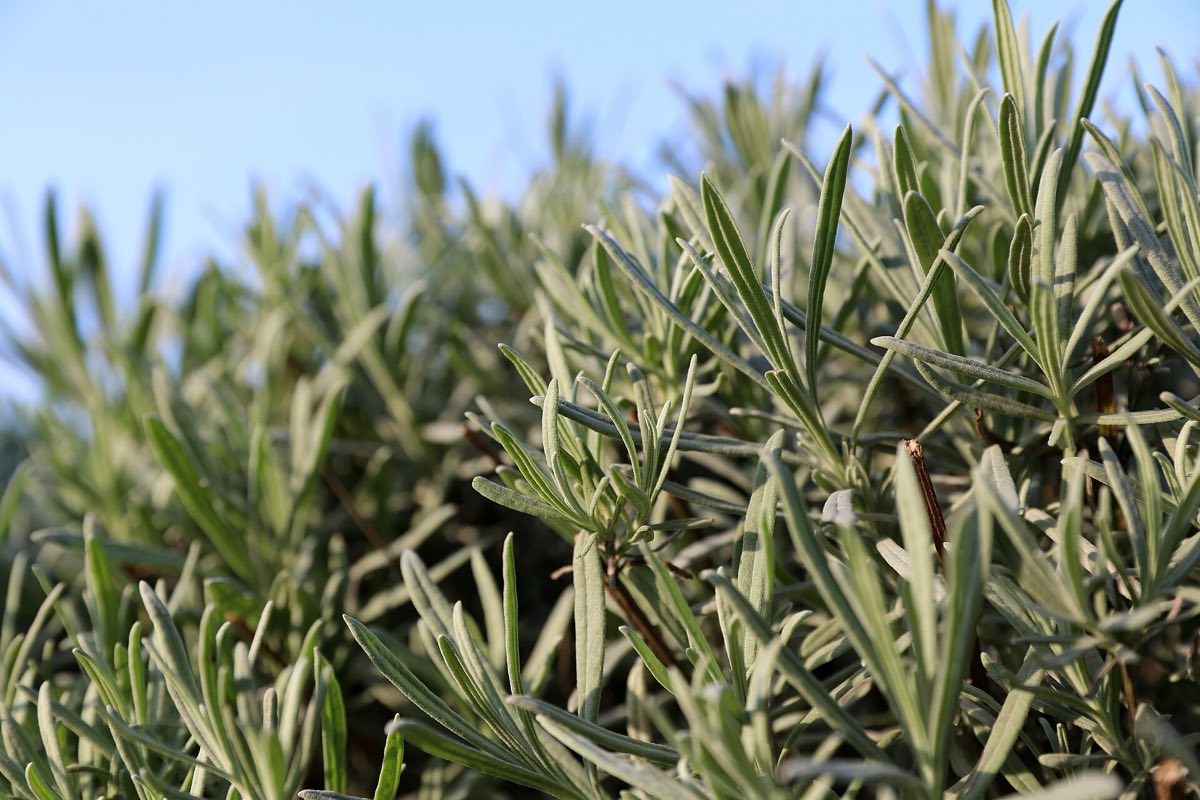
These are tougher and more forgiving. Take a side shoot, trim below a leaf joint or pull it away with a small "heel" of bark from the main stem, which roots well. Strip the lower leaves, and pinch out the soft tip. Insert in gritty compost in a cold frame or a shady spot. Many lavenders and rosemaries taken in August are ready to pot by late autumn, though in a cold garden they are safest overwintered in a frost-free frame.
Hardwood cuttings
The simplest of all, and almost foolproof for the right plants. Cut stems of pencil thickness. Trim straight across just below a bud at the base and with a sloping cut just above a bud at the top, so you remember which way up it goes and rain runs off. Push them into a narrow trench in a sheltered spot, with a little sand in the bottom, so that two thirds of each stem is below ground. Firm them in and forget them. Frost may lift them in winter; firm them back in after thaws. By the following autumn most will have rooted and can be moved.

Layering
Layering roots a stem while it is still attached to the parent plant, which feeds it until it can survive alone. It is slow but very reliable, and ideal for shrubs and climbers that are difficult from cuttings.
Simple layering
- In spring or autumn, choose a flexible, low-growing shoot that can be bent down to the ground.
- About 30 cm from its tip, scrape or cut a short slit on the underside of the stem, where it will touch the soil.
- Bury that wounded section 5 to 10 cm deep in soil improved with compost and grit, and peg it down with a wire hoop or a stone.
- Tie the tip upright to a small cane.
- Leave it for six to twelve months. When it shows new growth and resists a gentle tug, sever it from the parent and transplant it a few weeks later.
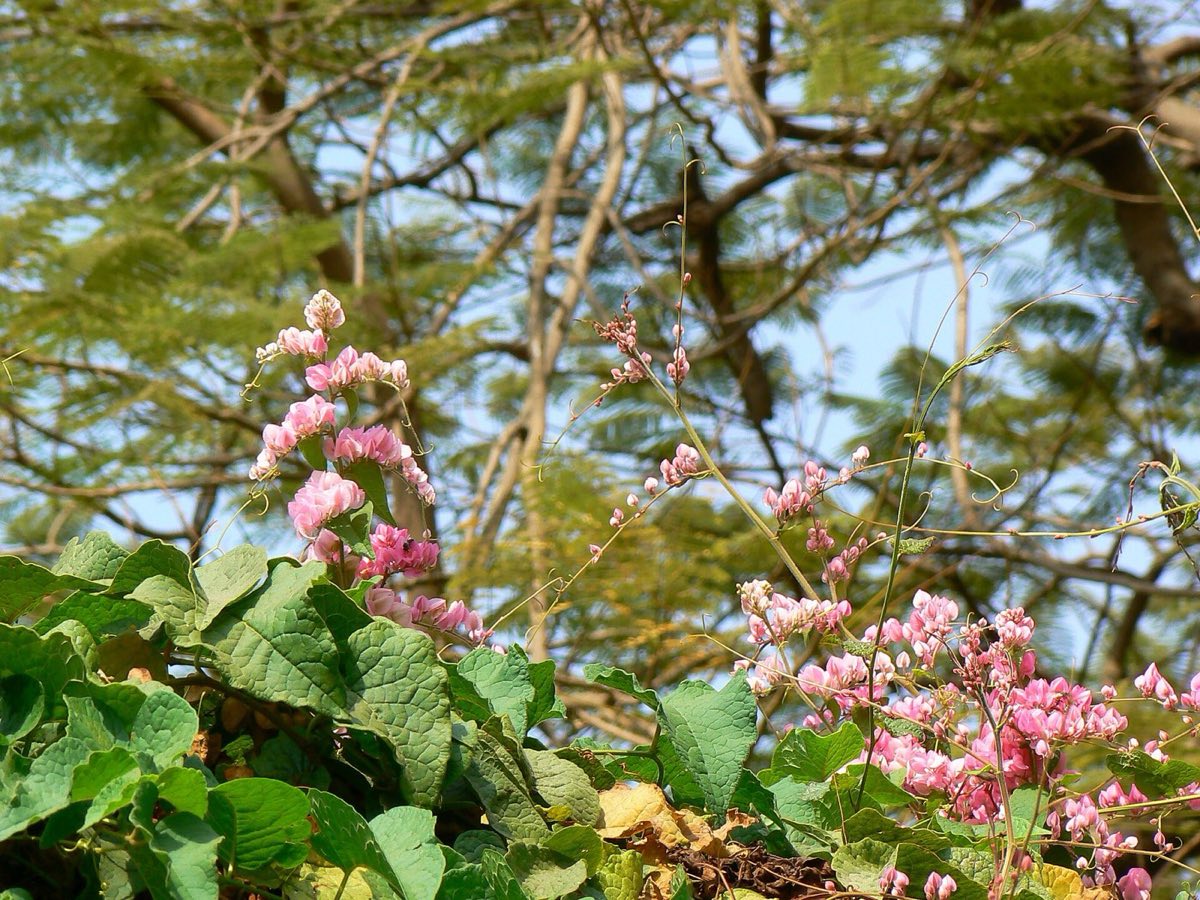
Plants that layer well include clematis, honeysuckle, wisteria, rhododendrons, magnolias, viburnums, forsythia, pinks and carnations. Clematis and other climbers can be serpentine layered: one long stem pegged down at several points, giving several plants at once.
Root cuttings
A few perennials can be grown from pieces of root. It is a little-known technique, but very effective for plants with thick, fleshy roots, and it is done in the dormant season, from November to February, when there is little else to propagate.
Good candidates are oriental poppies, Japanese anemones, acanthus, verbascum, sea holly (eryngium), perennial phlox, pulsatilla and border anchusa. Phlox grown from root cuttings is free of stem eelworm, which lives in the shoots.
- Lift the plant, or dig carefully at one side of it to expose some roots.
- Cut a few roots of pencil thickness close to the crown. Replant the parent.
- Cut each root into pieces 5 to 10 cm long. Make a straight cut at the end nearest the crown and a sloping cut at the far end. This tells you which way up they go, which matters: upside-down root cuttings will not grow.
- Push them vertically into pots of gritty compost, straight end up and level with the surface. Thin, fibrous roots such as phlox can be laid flat instead.
- Cover with a thin layer of grit, water lightly and keep in a cold frame or unheated greenhouse.
Bulb offsets, scales and bulbils
Bulbs multiply on their own. Most produce smaller daughter bulbs, called offsets, that grow alongside the parent. Daffodils form large clumps this way and flower less when congested. Lift and divide them six weeks after flowering, as the leaves start to yellow, or in late summer when they are dormant. Replant the largest bulbs to flower next year and grow on the small ones in a spare corner for two or three years. See bulbs for planting depths.
- Snowdrops are best divided "in the green", just after flowering while still in leaf, in March. They establish poorly from dry bulbs.
- Crocuses and gladioli grow from corms, which produce tiny cormlets around the base. Grow these on in a nursery row; they reach flowering size in two or three years.
- Lilies can be propagated from scales. In autumn, snap off a few outer scales from a healthy bulb, put them in a bag of damp vermiculite and keep them somewhere warm. Within six to eight weeks, tiny bulblets form at the base of each scale. Pot them up and grow on.
- Tiger lilies and some other lilies produce bulbils, small dark bulbs in the leaf joints along the stem. Collect them in late summer when they detach easily and press them into pots of compost.
A propagation calendar
For a garden with frosts from late October to April, the year falls into a rough pattern. The month-by-month garden jobs are in the main calendar.
| Month | Seeds | Vegetative propagation |
|---|---|---|
| January | Order seed. Test old seed. Sow stratified seed outdoors in pots | Root cuttings. Hardwood cuttings in mild spells |
| February | Sow sweet peas, snapdragons and other slow annuals under cover | Start dahlia tubers in pots for cuttings. Root cuttings |
| March | Sow hardy annuals in modules, half-hardy perennials under cover | Divide snowdrops in the green. Take dahlia basal cuttings |
| April | Sow cosmos, hardy annuals outdoors, perennials in pots | Divide summer perennials. Softwood cuttings begin |
| May | Sow zinnias and tender annuals indoors early in the month. Harden off | Softwood cuttings of fuchsia, salvia, pelargonium |
| June | Sow biennials: foxgloves, wallflowers, sweet williams | Softwood cuttings. Layer shrubs and climbers |
| July | Collect seed of early flowers. Sow pansies and violas for autumn | Semi-ripe cuttings begin. Divide bearded iris |
| August | Collect and dry seed. Sow hellebore and primula seed fresh | Semi-ripe cuttings of lavender, rosemary, penstemon |
| September | Sow hardy annuals outdoors or in modules for overwintering | Divide perennials. Lift and divide peonies if necessary. Lily scales |
| October | Sow sweet peas in deep pots in a cold frame. Sow seed needing cold | Last semi-ripe cuttings. Pot rooted cuttings before frost |
| November | Clean and store saved seed | Hardwood cuttings after leaf fall. Root cuttings begin |
| December | Plan sowings. Wash trays and pots | Hardwood cuttings. Check stored cuttings in frames |
Troubleshooting
Damping off
Seedlings that were healthy one day collapse the next, falling over at soil level with a thin, dark, pinched stem. A fuzzy white growth may appear on the compost. This is damping off, caused by several soil and water-borne fungi and fungus-like organisms that thrive in cold, wet, stagnant conditions. Once it starts in a tray, it spreads fast and there is no cure for the affected seedlings.
Prevention is everything:
- Use clean trays, fresh compost and mains water for seedlings. Water from butts can carry the organisms.
- Sow thinly. Crowded seedlings hold moisture between them.
- Water from below, and only when the surface begins to dry.
- Remove propagator lids as soon as seedlings appear and give good air circulation. A small open window or a gentle fan helps.
- Prick out promptly.
Leggy seedlings
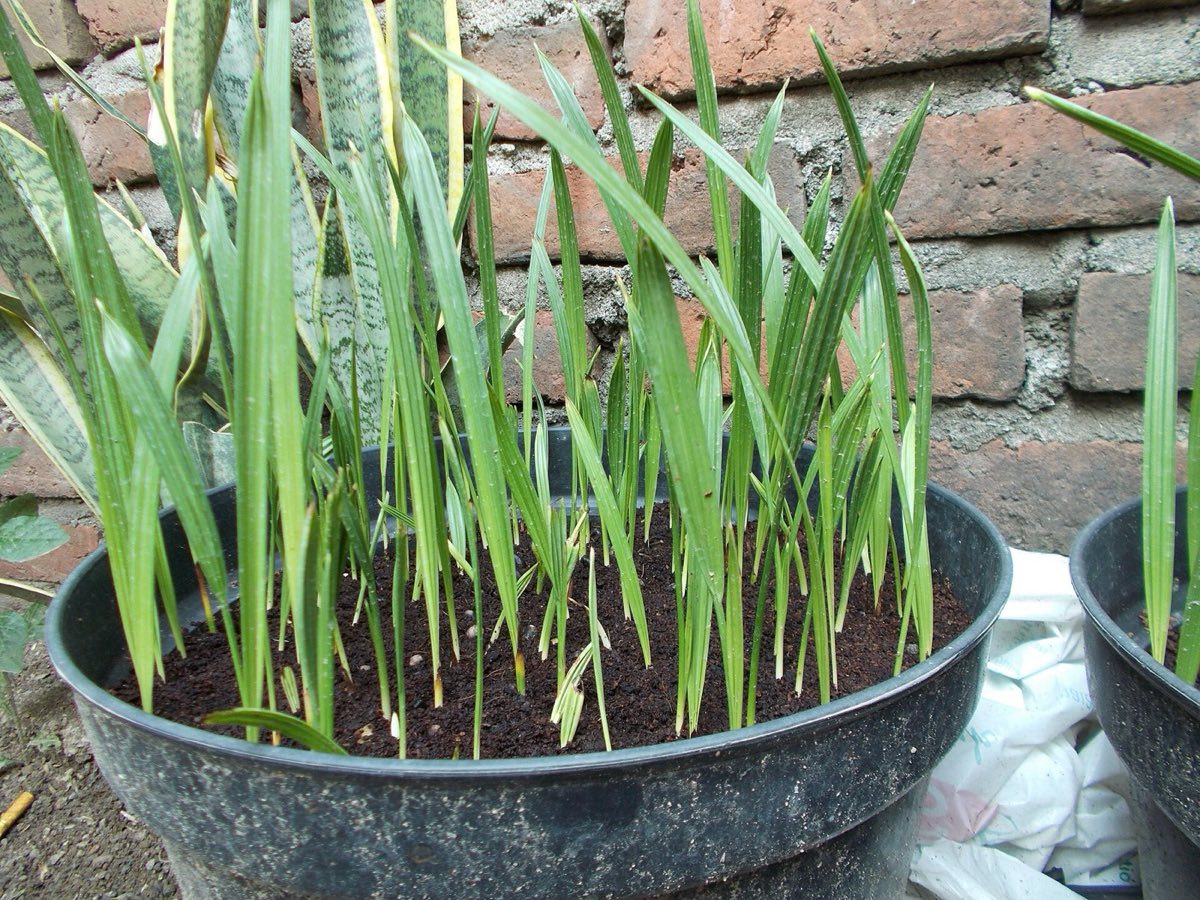
Tall, pale, floppy seedlings with long gaps between leaves are reaching for light. The usual cause is too little light combined with too much warmth, typical of a windowsill in February. Move them to the brightest possible place as soon as they germinate, and lower the temperature by a few degrees once they are up. Turn them daily. A sheet of foil on card behind the tray reflects light back. Sowing tender annuals later, when days are longer, often gives better plants than an early start. When pricking out, bury leggy seedlings up to their seed leaves.
Other problems
- Nothing comes up: old seed, cold compost, sown too deep, or compost too wet or dry. Check the packet and try a germination test.
- Seedlings yellowing: they have used up the nutrients in the compost. Pot on or give a weak liquid feed.
- Seedlings eaten overnight: slugs, snails or mice. Check at night with a torch.
- Cuttings rot: too wet, too warm or not enough air. Use grittier compost and ventilate daily.
My best seedlings have never come from the earliest sowing. They come from the sowing I made a little late, in good light, when I had stopped worrying about getting ahead.
Once young plants are growing, keeping them healthy is the next step: see pests and diseases.